2. Camera
Interface Screenshot
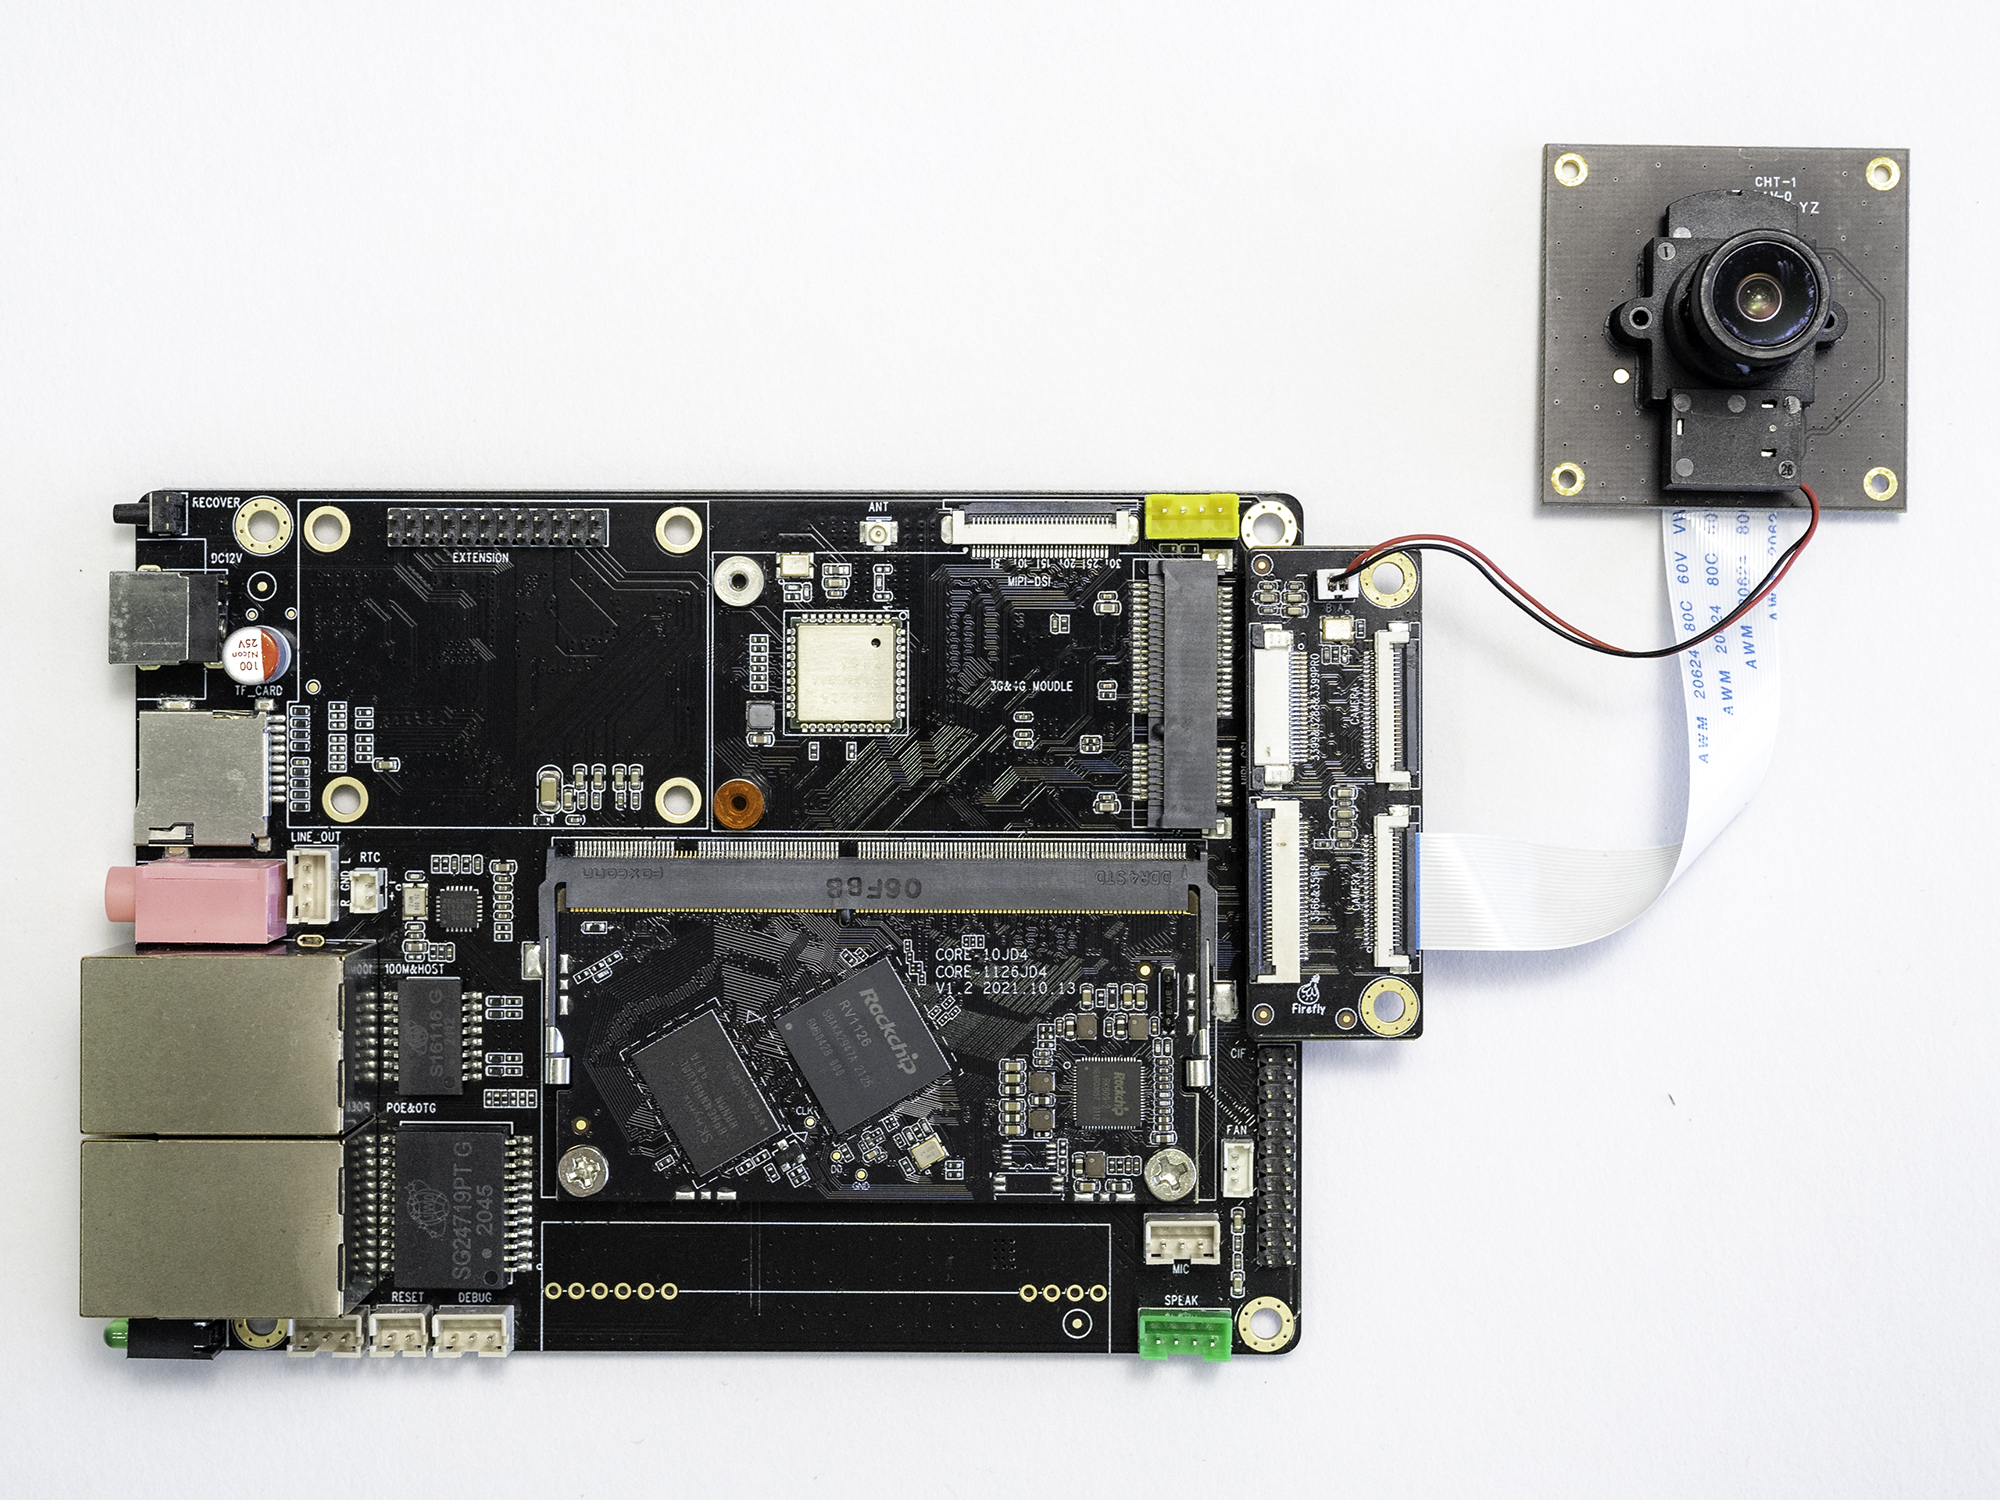
Note: The red and black lines on the camera are used to switch the filter.
Command to Switch Filters
# Turn off filter
v4l2-ctl -d /dev/v4l-subdev4 --set-ctrl 'band_stop_filter=0'

# Turn on filter
v4l2-ctl -d /dev/v4l-subdev4 --set-ctrl 'band_stop_filter=1'
2.1. Camera Low-Level Debugging
MIPI-CSI cameras require an adapter board.
V4L2 interface operation for MIPI-CSI cameras
Find camera nodes
$ grep '' /sys/class/video4linux/video*/name
/sys/class/video4linux/video0/name:stream_cif_mipi_id0
/sys/class/video4linux/video1/name:stream_cif_mipi_id1
/sys/class/video4linux/video10/name:rkcif_tools_id2
/sys/class/video4linux/video11/name:rkisp_mainpath
/sys/class/video4linux/video12/name:rkisp_selfpath
/sys/class/video4linux/video13/name:rkisp_iqtool
/sys/class/video4linux/video14/name:rkisp_rawrd0_m
/sys/class/video4linux/video15/name:rkisp_rawrd2_s
/sys/class/video4linux/video16/name:rkisp-statistics
/sys/class/video4linux/video17/name:rkisp-input-params
/sys/class/video4linux/video18/name:rkisp-pdaf
/sys/class/video4linux/video19/name:rkvpss-offline
/sys/class/video4linux/video2/name:stream_cif_mipi_id2
/sys/class/video4linux/video20/name:rkvpss_scale0
/sys/class/video4linux/video21/name:rkvpss_scale1
/sys/class/video4linux/video22/name:rkvpss_scale2
/sys/class/video4linux/video23/name:rkvpss_scale3
/sys/class/video4linux/video24/name:rkvpss_scale4
/sys/class/video4linux/video25/name:rkvpss_scale5
/sys/class/video4linux/video3/name:stream_cif_mipi_id3
/sys/class/video4linux/video4/name:rkcif_scale_ch0
/sys/class/video4linux/video5/name:rkcif_scale_ch1
/sys/class/video4linux/video6/name:rkcif_scale_ch2
/sys/class/video4linux/video7/name:rkcif_scale_ch3
/sys/class/video4linux/video8/name:rkcif_tools_id0
/sys/class/video4linux/video9/name:rkcif_tools_id1
Determine the node to capture
Since a motherboard may have multiple cameras, there are two scenarios:
For cameras with a built-in ISP, such as the CAM-8MS1M, capture the video node corresponding to stream_cif_mipi_id0. From the output information above, stream_cif_mipi_id0 corresponds to the video0 node.
If using the CAM-8MS1M camera, use v4l2-ctl to capture camera data frames and save them to /data/out.yuv.
v4l2-ctl --verbose -d /dev/video0 --set-fmt-video=width=1920,height=1080,pixelformat='NV12' --stream-mmap=3 --stream-skip=3 --stream-to=/data/out.yuv
Copy the out.yuv file and view it on Ubuntu.
ffplay -f rawvideo -video_size 1920x1080 -pix_fmt nv12 out.yuv
For cameras using RKISP, such as the IMX415, it’s necessary to capture the video node corresponding to rkisp_mainpath. Based on the output information above, rkisp_mainpath corresponds to the video11 node.
If using an IMX415 camera, use v4l2-ctl to capture camera data frames and save them to /data/out.yuv.
v4l2-ctl --verbose -d /dev/video11 --set-fmt-video=width=3840,height=2160,pixelformat='NV12' --stream-mmap=3 --stream-skip=3 --stream-to=/data/out.yuv
Copy the out.yuv file and view it on Ubuntu.
ffplay -f rawvideo -video_size 3840x2160 -pix_fmt nv12 out.yuv
2.2. PHY Introduction
The RV1126B chip has two DPHYs, which can operate in two modes: full mode and split mode.
Simply put, if using a monocular camera, we can configure it in full mode; if using a stereo camera, we can configure it in split mode.
The hardware design determines the software path, configured as follows:
csi2_dphy0 -> csi0(rx0) clk0 + 4 lane
csi2_dphy1 -> csi0(rx0) clk0 + 2 lane 0/1
csi2_dphy2 -> csi0(rx0) clk1 + 2 lane 2/3
csi2_dphy3 -> csi1(rx1) clk0 + 4 lane
csi2_dphy4 -> csi1(rx1) clk0 + 2 lane 0/1
csi2_dphy5 -> csi1(rx1) clk1 + 2 lane 2/3
2.3. Full Mode
The configuration link is as follows:
csi2_dphy0 –> mipi0_csi2 –> rkcif_mipi_lvds
csi2_dphy3 –> mipi2_csi2 –> rkcif_mipi_lvds2
Please see the device tree for details:
rv1126b-firefly-aio-1126bjd4-csi0-imx415.dtsi
rv1126b-firefly-aio-1126bjd4-csi1-imx415.dtsi
2.4. Split Mode
The configuration link is as follows:
csi2_dphy1 –> mipi0_csi2 –> rkcif_mipi_lvds
csi2_dphy2 –> mipi0_csi2 –> rkcif_mipi_lvds
csi2_dphy4 –> mipi2_csi2 –> rkcif_mipi_lvds2
csi2_dphy5 –> mipi2_csi2 –> rkcif_mipi_lvds2
Please see the device tree for details:
rv1126b-evb-dual-cam-csi0.dtsi
rv1126b-evb-dual-cam-csi1.dtsi
2.5. Previewing the Camera on a Linux System
The camera feed can be previewed using ffmedia. For ffmedia installation instructions, please click here: ffmedia Tutorial
After installing ffmedia, select the video node corresponding to rkisp_mainpath as described above to perform RTSP streaming. Assuming rkisp_mainpath corresponds to the video11 node, the following command uses video11 for RTSP streaming:
./demo /dev/video11 -e h264 --port 8554 --push_type rtsp --push_path /live/test
On your PC, use VLC media player to open the following RTSP stream link for preview:
rtsp://<device IP>:8554/live/test