
OpenSIP搭建
SIP(Session Initiation Protocol,会话初始协议)的开发目的是用来帮助提供跨越因特网的高级电话业务。因特网电话(IP电话)正在向一种正式的商业电话模式演进,SIP就是用来确保这种演进实现而需要的NGN(下一代网络)系列协议中重要的一员。支持H.264协议。
本次使用的系统为Ubuntu18.04(若使用ubutu20.04或Debian等可能需稍作修改)
编译opensips
安装所需的环境包
sudo apt-get install flex bison libncurses5-dev

#安装MySQL 5.7 版本数据库
sudo apt-get install mysql-server
sudo apt-get install mysql-client
sudo apt-get install libmysqlclient-dev

git clone https://github.com/OpenSIPS/opensips.git -b2.2 opensips-2.2
编译前配置:
添加 db_mysql 模块功能并保存
修改安装目录 PREFIX=/usr/local/opensips/
# unset C_INCLUDE_PATH 如果编译对象menuconfig不成功,尝试执行此命令
make menuconfig

---------------------------------------------
|                                           |
|    --->  Configure Compile Options        |
|          Compile And Install OpenSIPS     |
|          Cleanup OpenSIPS sources         |
|          Generate OpenSIPS Script         |
|          Exit & Save All Changes          |
---------------------------------------------

选择
Configure Compile Options
    Configure Excluded Modules
        [*] db_mysql #勾选MySQL支持模块
    Configure Install Prefix
        /usr/local/opensips/    #建议修改安装路径,以后容易卸载opensips
编译:
make all -j6
make install
sips服务配置
2.1 修改opensips.cfg
---------------------------------------------
|                                           |
|          Configure Compile Options        |
|          Compile And Install OpenSIPS     |
|          Cleanup OpenSIPS sources         |
|    --->  Generate OpenSIPS Script         |
|          Exit & Save All Changes          |
---------------------------------------------

Generate OpenSIPS Script
    Residential Script
        Configure Residential Script    #1. 先配置script
            #添加:
            [*] ENABLE_TCP
            [*] USE_AUTH
            [*] USE_DBACC
            [*] USE_DBUSRLOC
            [*] USE_DIALOG
        Save Residential Script         #2. 保存配置
        Generate Residential Script     #3. 生成script
替换opensips.cfg: cp opensips-2.2/etc/opensips_residential_2021-5-6_7:21:6.cfg opensips.cfg
修改opensips.cfg中的mpath变量: mpath=”/usr/local/opensips/lib64/opensips/modules/”
修改listen为机器IP: listen=udp:127.0.0.1:5060 # CUSTOMIZE ME listen=tcp:127.0.0.1:5060 # CUSTOMIZE ME
检测配置文件语法是否通过
sbin/opensips -C

May  6 07:30:20 [6441] INFO:core:fix_poll_method: using epoll_lt as the IO watch method (auto detected)
Listening on
             udp: 168.168.102.131 [168.168.102.131]:5060
             tcp: 168.168.102.131 [168.168.102.131]:5060
Aliases:

May  6 07:30:20 [6441] NOTICE:core:main: config file ok, exiting...
2.2 修改 opensipsctlrc
SIP_DOMAIN=168.168.102.131
DBENGINE=MYSQL
#localhost
DBHOST=168.168.102.131
DBNAME=opensips
DBRWUSER=opensips
DBRWPW="opensipsrw"
DBROOTUSER="root"
2.3 创建 opensips数据库
root@firefly:/usr/local/opensips/sbin# ./opensipsdbctl create
MySQL password for root:
INFO: test server charset
INFO: creating database opensips ...
INFO: Using table engine InnoDB.
INFO: Core OpenSIPS tables successfully created.
Install presence related tables? (y/n): y
INFO: creating presence tables into opensips ...
INFO: Presence tables successfully created.
Install tables for imc cpl siptrace domainpolicy carrierroute userblacklist b2b cachedb_sql registrant call_center fraud_detection emergency? (y/n): y
INFO: creating extra tables into opensips ...
INFO: Extra tables successfully created.
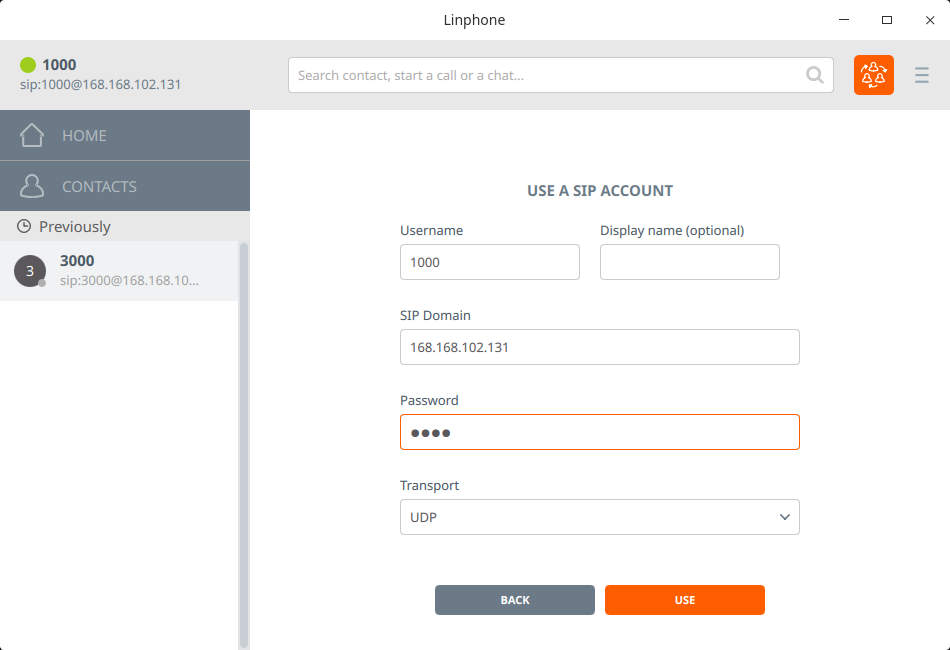
2.4 添加sip用户
./opensipsctl add username password #添加用户
./opensipsctl add 1000 1000     #添加一个账号和密码同为‘1000’的opensips用户
./opensipsctl add 2000 2000     #添加一个账号和密码同为‘2000’的opensips用户
./opensipsctl add 3000 3000     #添加一个账号和密码同为‘3000’的opensips用户
查看MySQL中opensips数据库添加情况
mysql -u opensips

show databases;
use opensips;
select * from subscriber;
具体操作过程:
mysql> show databases;
+--------------------+
| Database           |
+--------------------+
| information_schema |
| mysql              |
| opensips           |
| performance_schema |
| sys                |
+--------------------+
5 rows in set (0.00 sec)

mysql> use opensips;
Reading table information for completion of table and column names
You can turn off this feature to get a quicker startup with -A

Database changed
mysql> use opensips;
Database changed
mysql> select * from subscriber;

| id | username | domain          | password | email_address | ha1                              | ha1b                             | rpid |

|  1 | 1000     | 168.168.102.131 | 1000     |               | 723edede4ecefd0b5762a9d17e32901a | e6c216c8db0d13ce066491f19164a12b | NULL |
|  2 | 2000     | 168.168.102.131 | 2000     |               | 6d3515702693940f19e95e82be498e42 | 10299abcbca6bee63078df877918e557 | NULL |
|  3 | 3000     | 168.168.102.131 | 3000     |               | 1d3a4a80dc09cecea466877fea882811 | 8255c1a861f98b431dc621166130c9d8 | NULL |

3 rows in set (0.01 sec)
3. 启动sips服务
启动opensips服务: sudo service mysql restart

FAQ
Can’t connect to MySQL server on ‘168.168.100.178’ (111) root@jinchengubuntu-VirtualBox:/usr/local/opensips/sbin# ./opensipsdbctl create MySQL password for root: INFO: test server charset mysql: [Warning] Using a password on the command line interface can be insecure. ERROR 2003 (HY000): Can’t connect to MySQL server on ‘168.168.100.178’ (111) mysql: [Warning] Using a password on the command line interface can be insecure. ERROR 2003 (HY000): Can’t connect to MySQL server on ‘168.168.100.178’ (111) WARNING: Failed to get the available and used character sets
注释
root@jinchengubuntu-VirtualBox:/etc/mysql# grep "bind-address" * -nR
mysql.conf.d/mysqld.cnf:43:bind-address         = 127.0.0.1

sudo service mysql restart