First use
Product Overview
The Core-1684XJD4 Core Board utilizes the SOPHON AI Processing Unit BM1684X and is equipped with 16GB of RAM and 128GB eMMC storage. It supports a peak performance of 32TOPS (INT8), 16TFLOPS (FP16/BF16) performance, and 2TFLOPS (FP32) high precision performance. The board also has the capability to decode 32-channel H.265/H.264 1080p@25fps videos. It is compatible with major programming frameworks, offering a comprehensive and user-friendly toolchain. The platform caters to various AI computing scenarios including visual computing, edge computing, general-purpose computing services, intelligent transportation, unmanned stores, drones, and more.
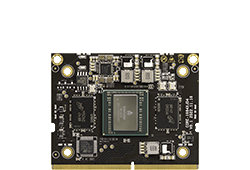
Front View of Core-1684XJD4 Core Board:
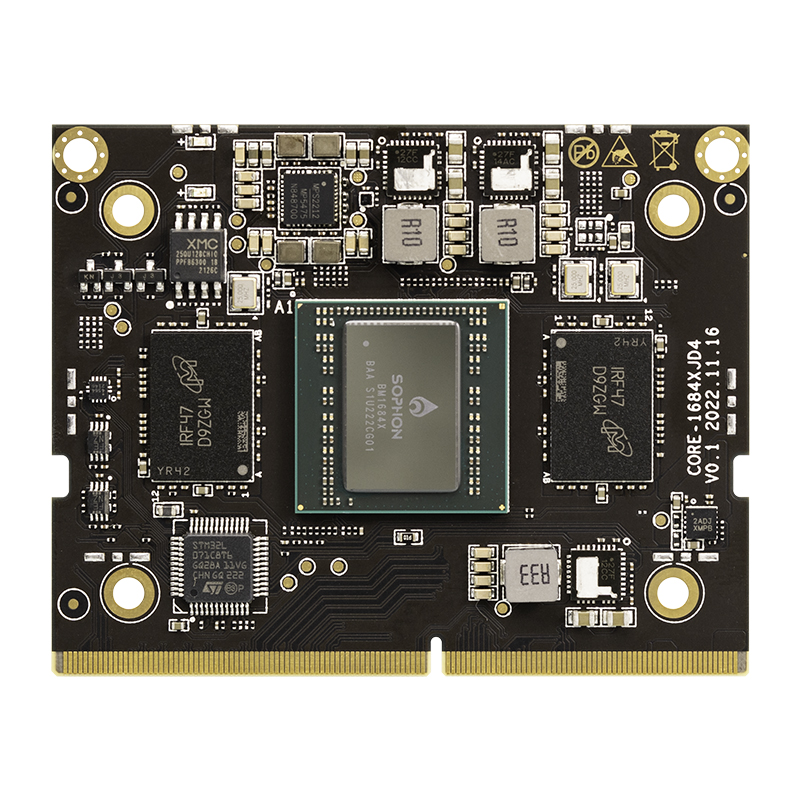 Front View
Back View of Core-1684XJD4 Core Board:
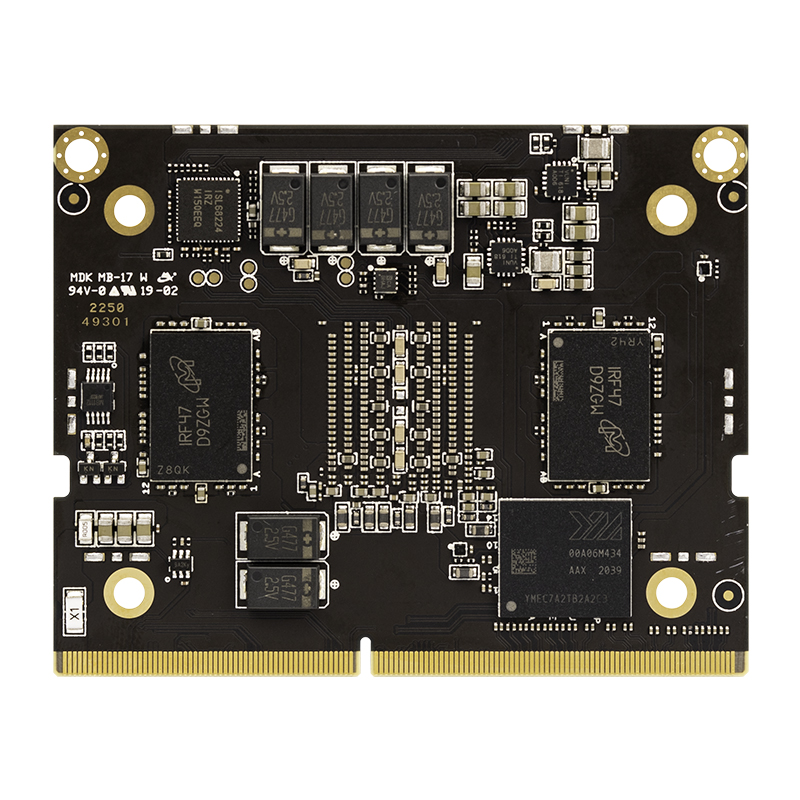 Back View
The AIO-1684XJD4 Mainboard is comprised of the Core Board Core-1684XJD4 + Baseboard MB-JD4-BM1684. It incorporates diverse interfaces such as HDMI, mSATA, USB3.0, USB2.0, RS485, RS232, making it suitable for direct deployment in AI edge computing products.
 AIO-1684XJD4
Product Specifications:
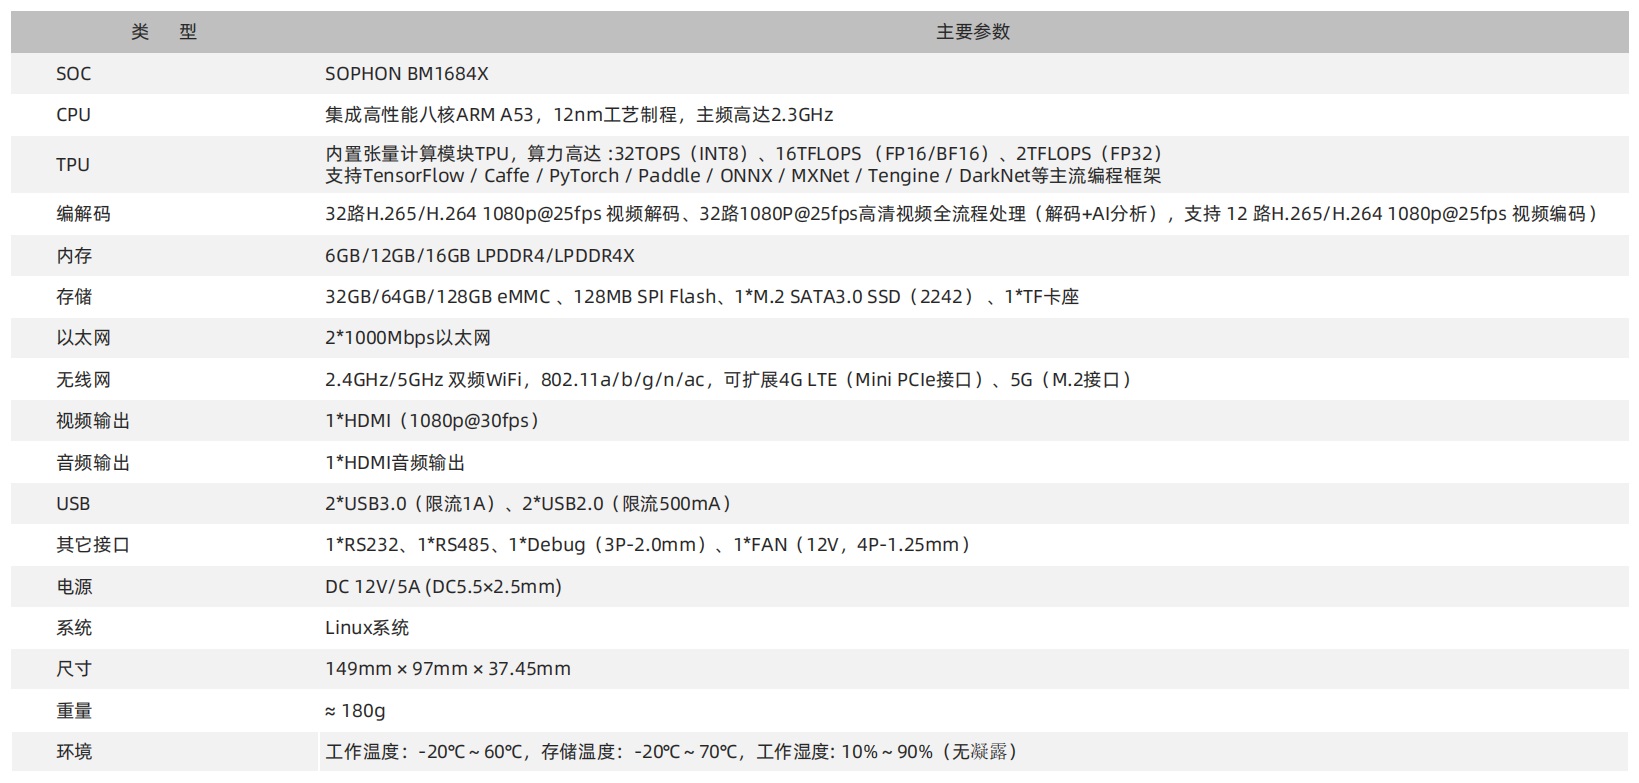 Specifications
Accessory List
Upon receiving the development board, ensure all the accessories are included:
If a cased unit, make sure it contains the integrated board, or if not, ensure you have the Core-1684XJD4 Core Board and MB-JD4-BM1684 Baseboard each along with a cooling fan.
One 12V-5A power adapter.
Optionally purchased accessories include:
Firefly serial port module.
Additionally, during usage, you might require the following:
Display device:
Monitor or TV with an HDMI interface, along with an HDMI cable.
Network:
100M/1000M Ethernet cable, wired router.
WiFi router.
Firmware upgrade:
TF card, 4GB or larger with a Class 10 rating.
Debugging:
USB to serial adapter.
Reference for the delivered components:
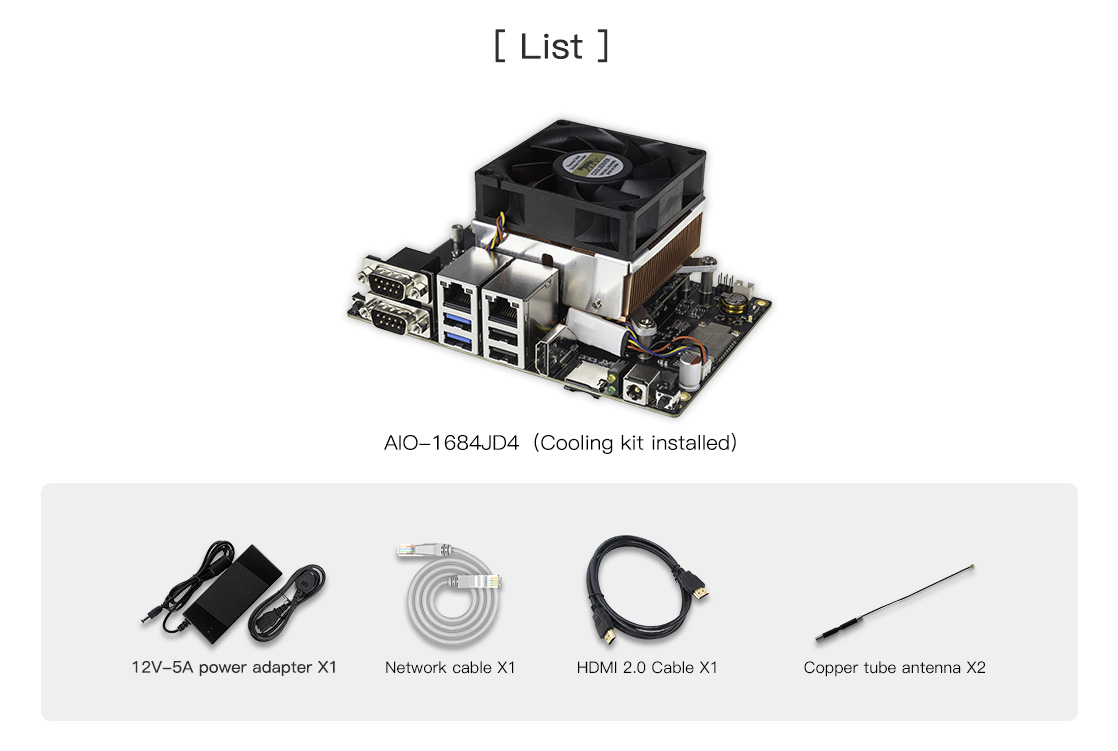 Component Reference
Power On
If not in a cased unit, follow these steps:
Align the golden fingers of the Core Board (with the main chip facing upwards) with the slot on the Baseboard, then press down on the Core Board, ensuring the locking clips on both sides securely fasten.
Connect the fan power to the FAN interface (near the power interface). Place the cooling pad on the center of the heatsink, then attach the fan to the main chip, ensuring the cooling pad covers the entire chip.
Connect the 12V-5A power adapter and plug it into a 100~220V AC power source. Insert the other end of the power cable into the power interface of the development board.
The development board will power on automatically upon being connected to power.
Remote Network Login
Ethernet port 0 (near the serial port) is configured with DHCP, while Ethernet port 1 (near the HDMI port) is configured with a static IP 192.168.150.1, subnet mask 255.255.255.0. You can set your PC’s IP to 192.168.150.2/24 for initial access.
If you can successfully ping the network interface IP, you can proceed to log in via ssh. The port number is 22, and the username and password are both linaro:
ssh linaro@192.168.150.1
Once connected to the development board, you can modify the network configuration similarly to Debian/Ubuntu desktop versions by configuring files in the /etc/network/interfaces.d/ directory.
Serial Terminal Access
Refer to Serial Debugging.
Power Off
When shutting down, it’s recommended to avoid directly disconnecting the power. First, run sudo poweroff, then disconnect the power to avoid damaging the file system data.
Additionally, if you’ve successfully entered the Linux system, you can also press and hold the power button. The system will detect it and safely shut down the system and the development board’s power.