UART
Introduction
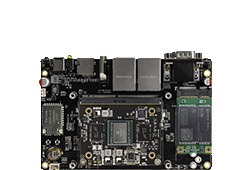
AIO-1684XJD4 supports 3 UART devices:
| Device name | Interface function | Baud rate | Full duplex | Level |
|---|---|---|---|---|
| /dev/ttyS0 | Debug serial port | 115200 | yes | TTL |
| /dev/ttyS1 | RS232 | 115200 | yes | RS232 |
| /dev/ttyS2 | RS485 | 9600 | No | RS485 |
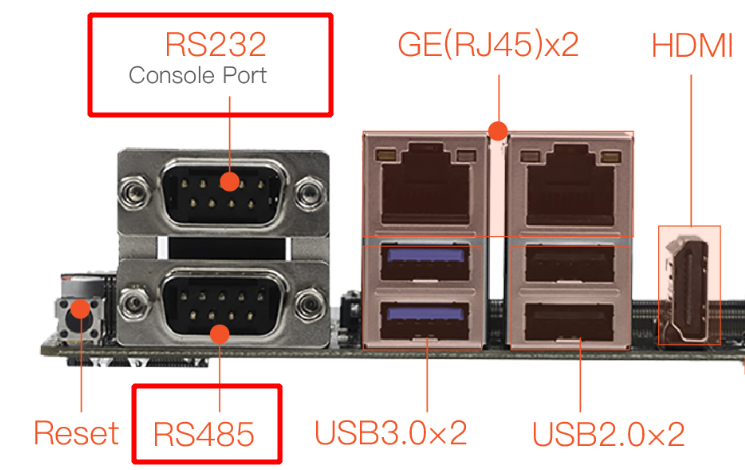
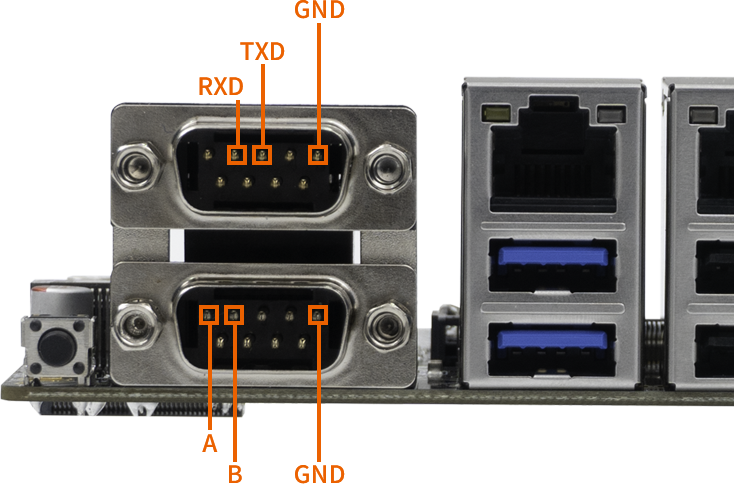
The RS232 and RS485 interface diagram of AIO-1684XJD4 board is as follows:
Debug
Users can use different host’s USB-to-serial adapters to send and receive data to the serial port of the development board according to different interfaces. For example, the debugging steps of RS485 are as follows:
(1) Connecting the hardware
Connect the A, B and GND pins of the RS485 of the development board to the A, B and GND pins of the host serial adapter (USB to 485 to serial port module) respectively.
(2) Open the serial terminal of the host
Open kermit in the terminal and set the baud rate:
$ sudo kermit
C-Kermit> set line /dev/ttyUSB0
C-Kermit> set speed 9600
C-Kermit> set flow-control none
C-Kermit> connect
/dev/ttyUSB0is the device file of the USB-to-serial adapter
(3) Send data
The device file for RS485 is /dev/ttyS2. Run the following commands on the device:
sudo -s
stty -F /dev/ttyS2 9600 -echo
echo firefly RS485 test... > /dev/ttyS2
The serial terminal in the host can receive the string “firefly RS485 test…”
(4) Receive data
First run the following command on the device:
sudo -s
cat /dev/ttyS2
Then enter the string “Firefly RS485 test…” in the serial terminal of the host, and the same string can be seen on the device side.
How to restore RS232 to normal communication serial port function?
Open a terminal and enter the following command:
sudo systemctl disable --now serial-getty@ttyS1.service