UART 使用
简介
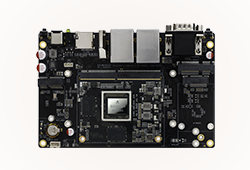
AIO-1684JD4 支持 3 个 UART 设备:
| 设备名称 | 接口功能 | 波特率 | 是否全双工 | 电平 |
|---|---|---|---|---|
| /dev/ttyS0 | 调试串口 | 115200 | 是 | TTL |
| /dev/ttyS1 | RS232 | 115200 | 是 | RS232 |
| /dev/ttyS2 | RS485 | 9600 | 否 | RS485 |
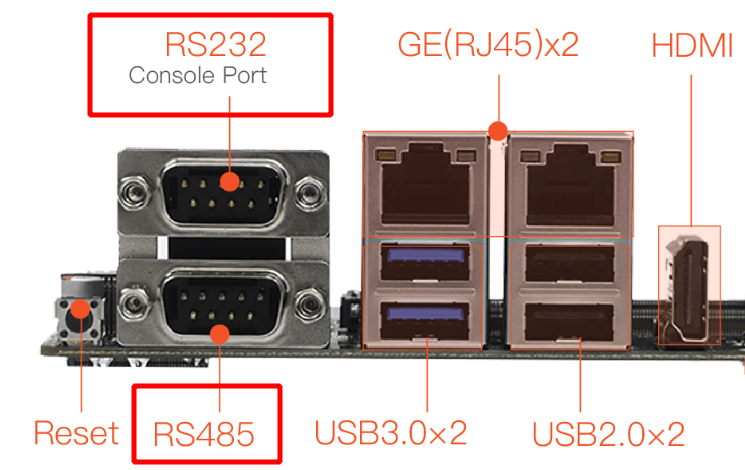
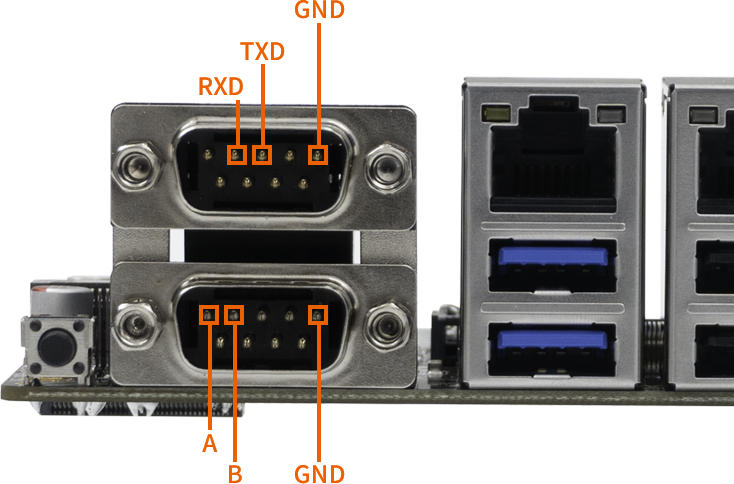
AIO-1684JD4 开发板的 RS232 与 RS485 接口图如下:
调试方法
用户可以根据不同的接口使用不同的主机的 USB 转串口适配器向开发板的串口收发数据,例如 RS485 的调试步骤如下:
(1) 连接硬件
将开发板RS485 的A、B、GND 引脚分别和主机串口适配器(USB 转 485 转串口模块)的 A、B、GND 引脚相连。
(2) 打开主机的串口终端
在终端打开 kermit,并设置波特率:
$ sudo kermit
C-Kermit> set line /dev/ttyUSB0
C-Kermit> set speed 9600
C-Kermit> set flow-control none
C-Kermit> connect
/dev/ttyUSB0为 USB 转串口适配器的设备文件
(3) 发送数据
RS485 的设备文件为 /dev/ttyS2。在设备上运行下列命令:
sudo -s
stty -F /dev/ttyS2 9600 -echo
echo firefly RS485 test... > /dev/ttyS2
主机中的串口终端即可接收到字符串 “firefly RS485 test…”
(4) 接收数据
首先在设备上运行下列命令:
sudo -s
cat /dev/ttyS2
然后在主机的串口终端输入字符串 “Firefly RS485 test…”,设备端即可见到相同的字符串。